Let’s say you need an easy way to create a blog within minutes. Well, Jekyll does exactly that! It’s a highly popular tool in the modern blogging field!
What is it?
Jekyll is a static site generator built using Ruby. It allows you to write basic HTML and CSS to create a fully functional website that’s ready for your server! You can also use Markdown for your posts and Liquid for templating.
How do I get started?
First, open up Command Prompt or Terminal depending on your operating system. Next, install Jekyll onto your system:
gem install jekyllThen, create a new site using:
jekyll new my-amazing-siteNext, go into the newly created site directory and set up a server to watch for changes.
cd my-amazing-site
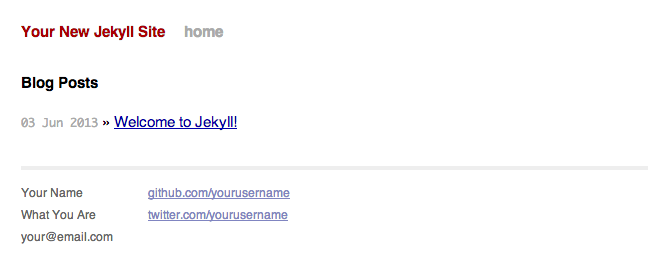
jekyll serve --watchNow that the server is set up, we can point our browser to localhost:4000 in order to view our newly generated site! It should look something like the following:
Directory Structure
Jekyll blogs often have a directory structure similar to the one below:
- _config.yml
- _layouts
- default.html
- post.html
- _posts
- 2013-06-03-a-great-post.md
- _site
- css
- styles.css
- syntax.css
- index.html
Jekyll populates the _site folder with the compiled blog. The configuration for your blog is stored in _config.yml. A sample configuration is shown below:
name: My Awesome Website!
description: This is an amazing site I made a while ago!

paginate: 6

markdown: rdiscount
permalink: pretty
pygments: true
The posts for the blog are put into the _posts directory. These files can be written using HTML or Markdown. Jekyll blog posts must be named with a specific date prefix, as shown above. They must be named in the following format: year-month-day-title-with-dashes-for-separation.md.
Adjusting your blog
Layouts allow you to define a template that a set of HTML files will follow.
What if you wanted to define a standard template for all of your posts? How about making a separate one for the non-post pages on your blog, such as the About or Resume pages? Well, Jekyll allows you to accomplish both of these tasks using something called layouts. Layouts allow you to define a template that a set of HTML files will follow. Two layouts are already provided for you in the _layouts folder if you executed the jekyll new command previously. The default.html template is for non-post pages and the other one, post.html, is for posts. Changing these files will allow you to change all of your non-post or post pages at once, which is extremely useful for implementing something that will be consistent throughout several pages! For example, you can make a header with navigation and a logo for each page.
Styling
In order to change the styling, use the css directory. The syntax.css file contains code highlighting styles, while the styles.css is for general site styles.
Post, post, post!
Now that the Jekyll blog is set up, start posting! To write a new post, make a new file in _posts, but don’t forget to include the date prefix that was previously mentioned! Once the file is created, you will have to define the title and layout of the post using YAML inside the file. This is called front matter. Say I have a post named All About Rainbows. Then I’ll have to fill the file with the following:
---
title: All About Rainbows
layout: post
---
This tells Jekyll that I want to use the post.html template inside of the _layouts folder that we previously talked about. Then, I can start writing in Markdown (or HTML if I made a .html file):
---
title: All About Rainbows
layout: post
---

# Introduction

Yes, rainbows are amazing, but do you know everything about them?

...
More Information
This was just a preview of Jekyll as there is much more to learn! You can find out more about Jekyll and its various other features by visiting their amazing documentation site. Thanks for reading!